We have all been there, you see. You are enjoying your coffee on your commute, one minute, and then a roadblock turns it into a coffee grenade. Or perhaps your child thought the car seat was the ideal place to showcase their artistic abilities with the juice box. I have personally handled everything from melted crayons in the summer heat to spilled lattes. And believe me when I say that saving your sanity is more important than simply making your seats look nice.
There was a time I picked up my niece from soccer practice. Her energy was so high that she smeared grass, dirt, and Gatorade into my light-gray fabric interior before I could say “watch the seats.” Her cleats were muddy. A multi-hour cleaning session, three different products, and a renewed appreciation for seat covers resulted from that encounter. But I discovered what was a complete waste of time and what did work.
I’m going to walk you through what really works to remove those tough stains in this blog. I’ve tried things myself, not just theories. You will learn do-it-yourself techniques, practical advice, and even some “don’t do what I did” cautions. Are you prepared to restore the original appearance and scent of those seats? Come on, let’s roll.
Understanding the Type of Stain First
Let’s take a moment to examine the real enemy before you grab the scrub brush and spray bottle. I promise you that handling a milk spill like a grease stain will only leave you disappointed and with an odd odor. Not all stains behave the same way, so it’s important to know what you’re dealing with.
Food & Drink Stains
These are most likely the most common. I have struggled with ketchup, soda, coffee, and that mysterious sauce from the drive-thru. Since most of these are water-based, lifting them is easier, but you must move quickly. After it starts? It turns into an extremely difficult task. Don’t rub; blot. Always begin with cold water. Additionally, adding white vinegar to your mix works wonders for darker liquids like coffee or red wine.
Grease & Oil
The silent killers, ah. Stains that are deeply ingrained and defy simple washing include sunscreen smears, French fry grease, and even your mechanic friend’s oily handprints. A degreasing agent is required. Warm water and dish soap have worked well for me; just don’t use too much or you’ll leave a foamy mess behind.
Pet Accidents
Unexpected messes are a nightmare for anyone who owns a dog. You need an enzymatic cleaner for anything from vomit to drool or worse. By breaking down the organic compounds, these bad boys help you get rid of the smell and the stain. Avoid skipping this step because air fresheners don’t fix problems; they just mask them.
Ink & Crayon Marks
These scumbags are cunning. On one occasion, I discovered a pen leak that matched a crime scene. Here, alcohol-based solutions are your best bet. The ink can be dissolved by rubbing alcohol or, in an emergency, hand sanitizer, but it can spread if you scrub gently.
Mystery Stains
Everybody has them. That brownish, unidentifiable blob that has been there for weeks months? When in doubt, begin with a mild cleaner and gradually increase the strength. Additionally, always give it a sniff; just to be safe, use an enzyme cleaner if it smells funky.
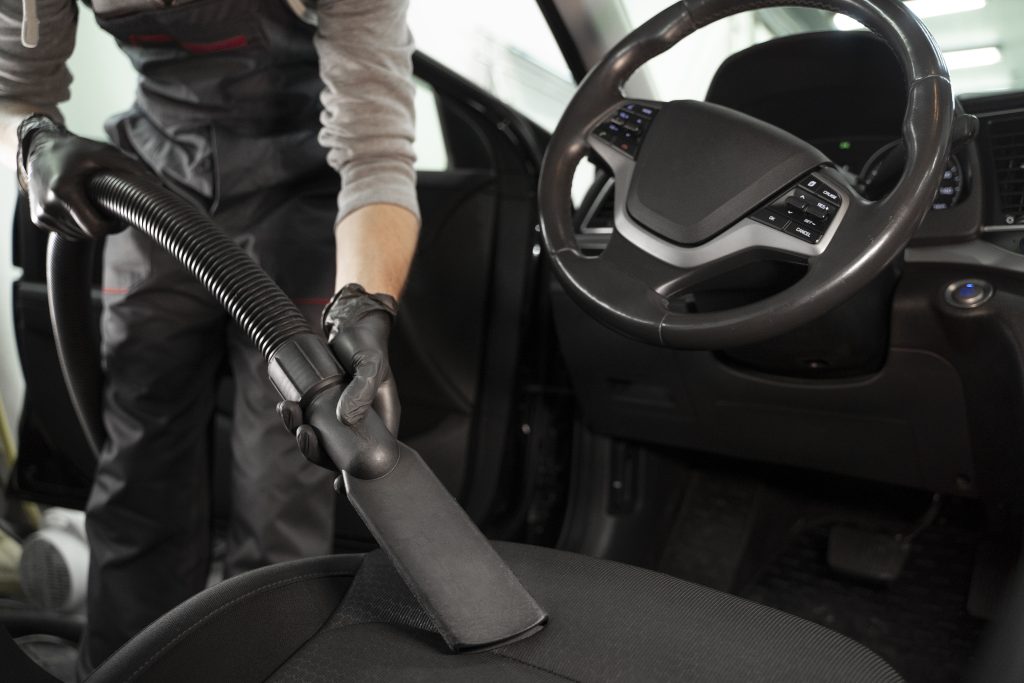
1. Always Vacuum First.
Vacuum the area first, regardless of the type of stain. I can’t emphasize this enough. If you don’t, when you clean, you’re only pushing crumbs and dirt further into the fabric.
Utilize your vacuum’s crevice tool to reach all of the corners and seams. I once discovered a whole chicken nugget underneath the passenger seat (still intact, which is worrisome in and of itself). You’d be surprised at what’s hiding inside.
Do you have pet hair? Before cleaning, you can remove it with a rubber glove or a lint roller.
2. Choose Your Cleaning Method (DIY or Store-Bought)
I have used both DIY and commercial cleaners over the years, and honestly? Both have their place.
My Favorite Do-It-Yourself Recipe (Suitable for Most Stains):
- 1 cup warm water
- 1 tablespoon dish soap
- 1 tablespoon white vinegar
In a spray bottle, combine that. It’s affordable, efficient, and surprisingly strong. I apply a small amount of baking soda directly to the stain first, then mist it with this mixture if it smells (such as from milk or pet accidents). After ten minutes of sitting, let it fizz and then blot.
When I Make Use of Store-Bought Cleaners:
I use products like Chemical Guys Upholstery Cleaner or Folex Spot Remover if the stain is oily, ink-based, or simply won’t come off. These are reliable products that magically remove stubborn stains.
Always start with a spot test. Try it in a secret spot or beneath the seat. When a cleaner discolored my back seat, I discovered the hard way don’t be me.
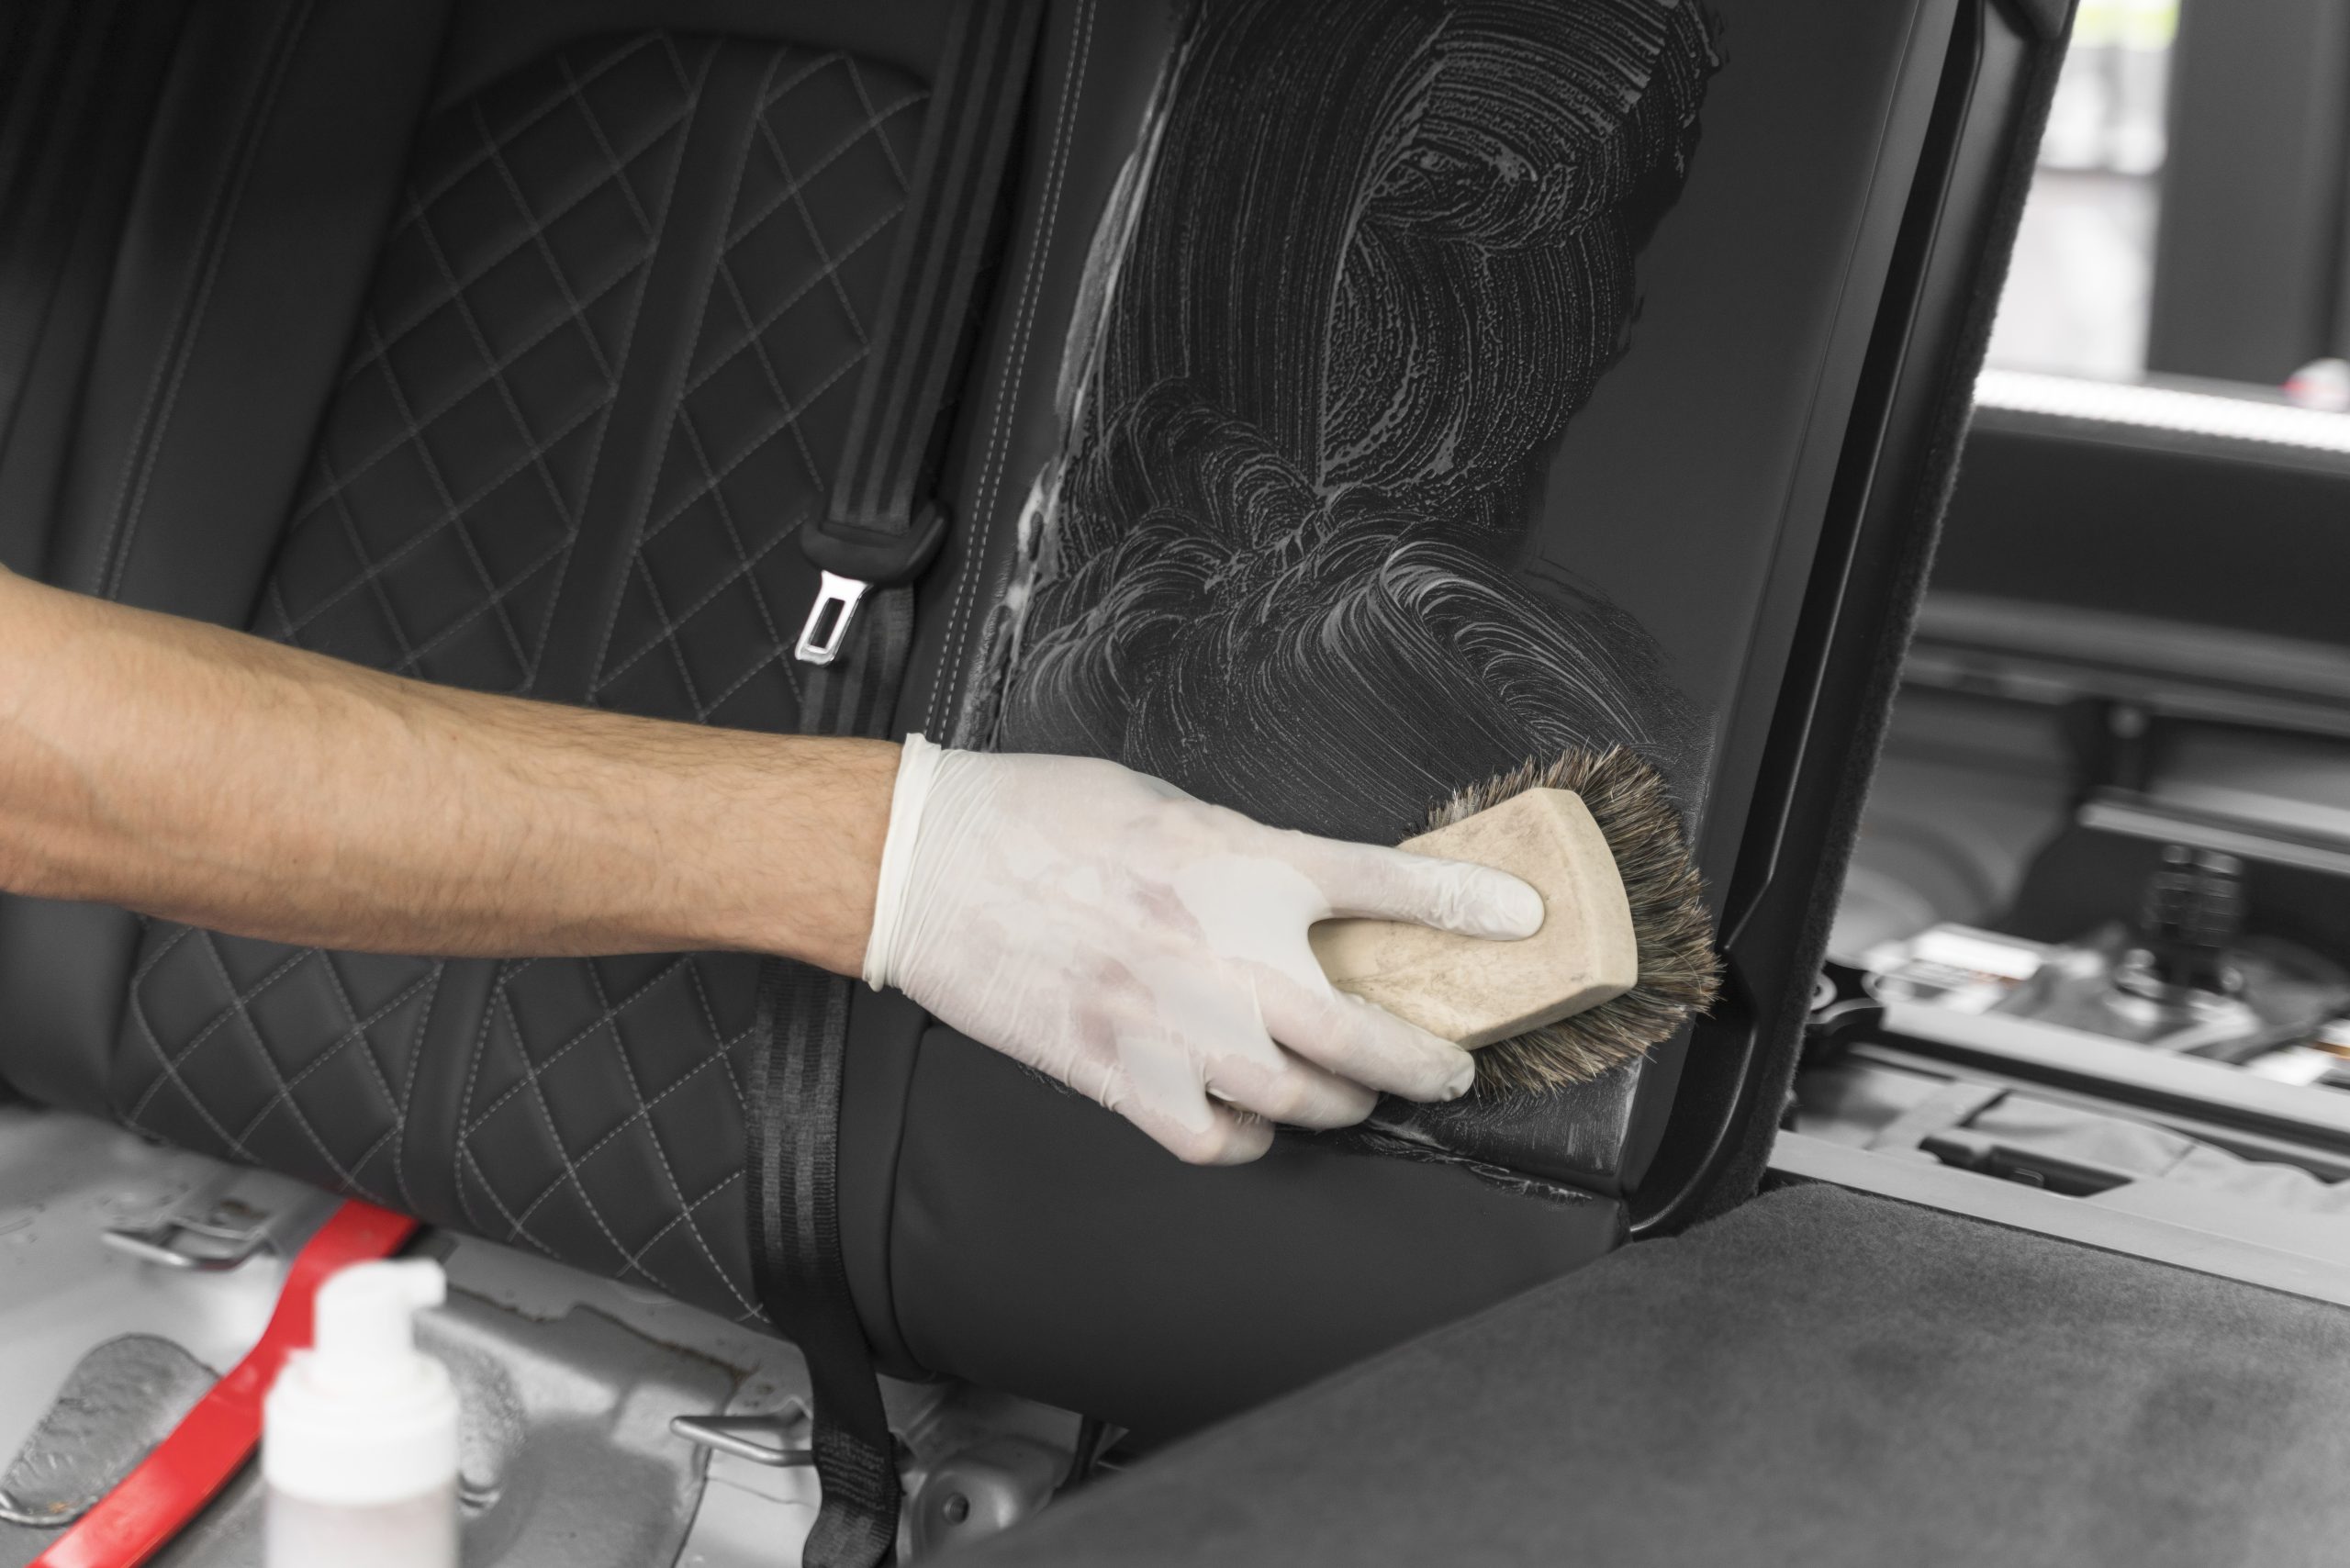
3. Blot, Don’t Rub
Alright, you are prepared to start cleaning. Apply your commercial or do-it-yourself cleaner to the stain, let it sit for five to ten minutes, and then dab with a fresh microfiber cloth.
Avoid rubbing. The stain is only spread and pushed further into the seat fabric as a result. Rather, lift and gently press. Continue doing this with a new piece of cloth until the stain begins to disappear.
After allowing the cleaner to soak in, use a gentle brush in circular motions to remove stubborn areas. This isn’t a gym workout, so don’t go crazy. The upholstery may be harmed by excessive force.
4. Rinse and Dry Properly
To get rid of any remaining soap or cleaner after the stain has been removed, wet a cloth with fresh water and blot the area once more. Residue should not be left behind as it may eventually attract dirt.
To get rid of as much moisture as you can, blot once more with a dry towel. After that, let it air out. To ensure the area dries completely, leave your doors open or windows cracked. A portable fan aimed at the seat is a great solution in cold or humid weather.
Expert advice: Never leave wet seats in a sealed car. That was a mistake I made once. For weeks, moldy seats will smell like a damp basement.
Extra Advice Based on Experience
After years of sloppy car rides, fast food spills, and backseat mayhem, I have discovered the following pearls of wisdom:
- Your best friend is baking soda, especially when it comes to scents. Before vacuuming it up, sprinkle it on and allow it to sit.
- Store an old T-shirt or towel in your glove box: Ideal for wiping up spills in an emergency.
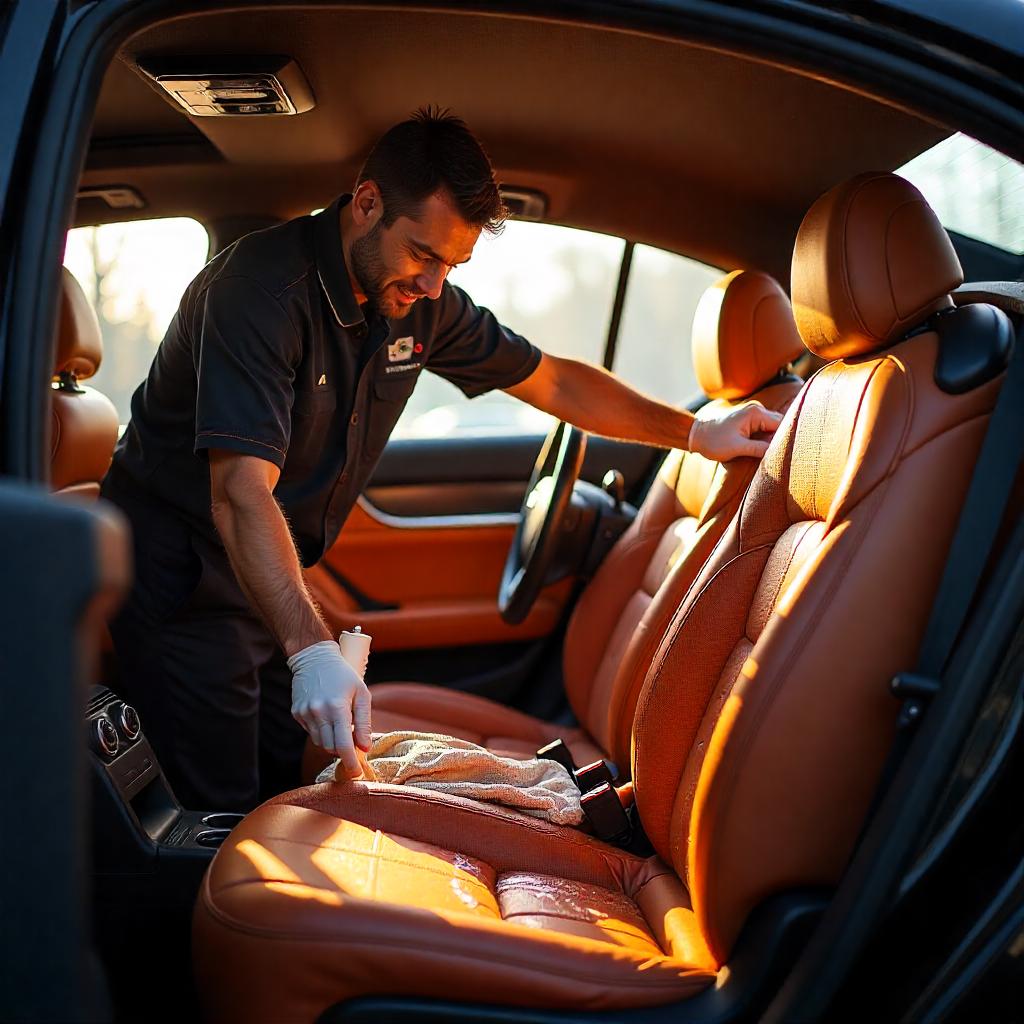
- Leather? Completely different procedure: Always condition after using leather-safe cleaners. If not, it will dry out and crack.
- Stains that have set in? Try using dish soap and hydrogen peroxide: Only on light-colored fabrics, though. Darker upholstery can be bleached by it.
- Do you own a pet? Purchase an enzyme cleaner right away: Believe me. It’s the only thing that actually gets rid of the mess and eliminates smells.
Wrap-Up: You have Got This
Look, your car is where life happens. Stains will inevitably appear due to toddlers with sticky hands, muddy shoes, or coffee accidents. But you can definitely do it yourself if you have the proper equipment and a little know-how.
The secret is to act quickly, be patient, and use the appropriate technique for the task at hand. I’ve cleaned everything from melted crayons to ketchup bombs in a Texas summer, no less.
Hey, how about the next time someone spills something in your vehicle? Saying “I have got this” will help you avoid panicking. Because you do now.
You may also like to read an article about: How to Unclog an RV Toilet , How to Lower Alkalinity in Your Swimming Pool, How Long Does It Take to Remove a Tattoo? , How Much Does It Cost to Fix an Exhaust Leak? Price List in 2025
GIPHY App Key not set. Please check settings